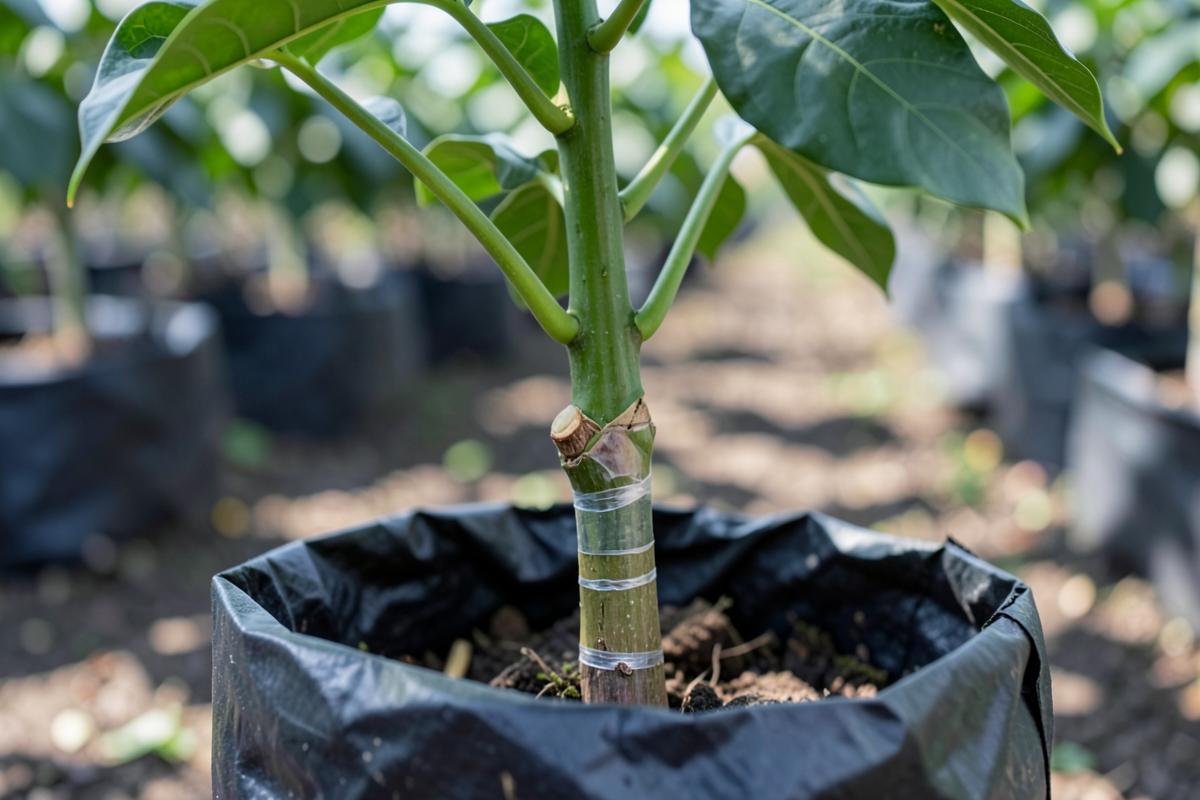
Varieties
Grafted Avocado Tree: Benefits, Fruiting Time & Care
A grafted tree is two plants working together: proven roots below, a known variety above. That combination is why orchards use them and why home growers should too.
5 min read
There is no secret new avocado graft. There are well-proven methods, and the difference between success and failure is usually cambium contact, timing and aftercare.
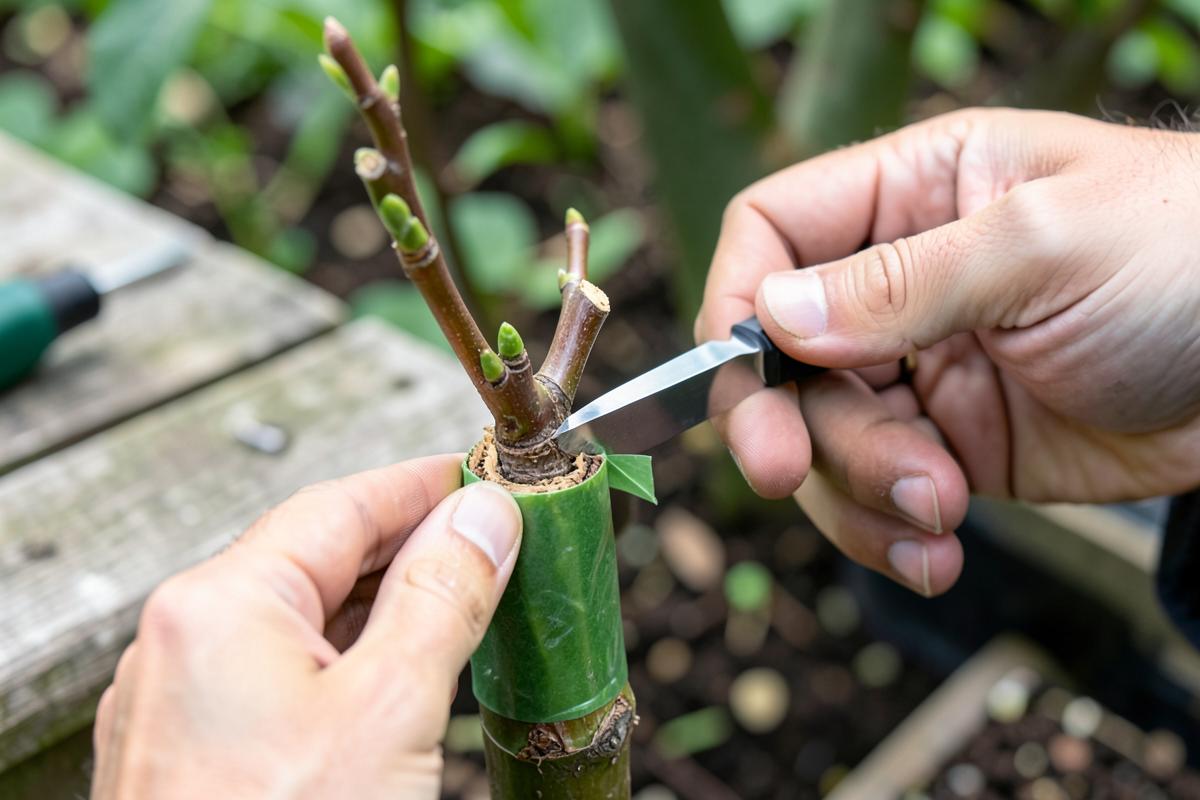
About the phrase “new technique”
Searches for a new avocado grafting technique are common, but the methods used commercially today are long-established and well documented. What has genuinely improved is consistency: better rootstock selection, cleaner tools, controlled humidity and disciplined timing. We would rather describe what reliably works than invent novelty.
Grafting an avocado is not difficult in principle. You are matching living tissue to living tissue and keeping it alive long enough to knit. Everything that goes wrong goes wrong in one of three places: the cut, the environment or the aftercare.
The rootstock is cut across, split down the centre, and a wedge-shaped scion is inserted so the cambium layers align on at least one side. It is the most widely taught method for avocado, works well when stock and scion are similar in thickness, and suits nursery seedlings around pencil thickness.
A close relative of the cleft, with the scion cut to a tapered wedge and the stock cut to receive it. It gives good contact area and is popular where nursery workers graft in volume.
The scion is inserted into a slanting cut in the side of the stock, with the stock's top left in place initially. Because the rootstock keeps its leaves while the union forms, this method is forgiving — useful for thicker stocks or when you want a safety margin. The top is removed once the scion is clearly growing.
A thin sliver of bark and wood is removed from the stock and a matching scion sliver is bound in its place. It gives excellent cambium contact and is a common choice in professional nurseries, though it demands a sharp knife and a steady hand.
Used on established trees rather than seedlings. The tree is cut back to main framework limbs and several grafts are placed on the new stubs. Done properly, an established root system pushes the new variety into bearing far sooner than a fresh planting. Exposed limbs must be whitewashed against sunburn.
Two rooted plants are joined side by side while both remain on their own roots, and the unwanted parts are severed only after the union has knitted. It is slow and fiddly, but it has the highest margin for error, which makes it a reasonable choice for a rare scion or a first attempt.
| Method | Best for | Difficulty |
|---|---|---|
| Cleft | Nursery seedlings of matching thickness | Low |
| Wedge | Volume nursery grafting | Low |
| Side | Thicker stocks; a forgiving option | Medium |
| Veneer | Professional nursery work, high take rates | Medium–high |
| Top-working | Converting an established tree | Medium |
| Approach | Difficult or precious scion material | High effort, high success |
Cleft
Wedge
Side
Veneer
Top-working
Approach
Rootstock decides how the tree copes with your soil rather than how the fruit tastes. The main considerations are tolerance of root rot, tolerance of salinity and lime-induced deficiencies, and general vigour. Where root rot is a known local problem, using a tolerant rootstock is one of the few genuinely effective preventive measures. Raise stocks from fresh, disease-free seed in clean media.
Graft when the rootstock is in active growth and the bark separates cleanly, but avoid the extremes of the season. In most Indian growing areas that means the mild post-monsoon window or the period before peak summer heat, rather than the middle of the rains or the hottest weeks of the year. Avoid grafting during heavy rain, in cold spells, or when temperatures are running above the high thirties.
The scion has no roots and must not dry out before the union forms. Nurseries manage this by enclosing the graft in a small polythene cap or bag to hold humidity, and shading it from direct sun. Moderate warmth speeds callus formation; extreme heat inside a sealed bag cooks the scion. Ventilate or remove the cover once the buds push.
| Cause | What you see | Prevention |
|---|---|---|
| Cambium layers not aligned | Scion dries and blackens within weeks | Match at least one side precisely |
| Blunt or dirty tools | Ragged cuts, slow callusing, infection | Sharp, sterilised blade; one clean stroke |
| Scion dried out | Shrivelled buds that never break | Collect fresh, keep cool and moist, graft quickly |
| Loose wrap or movement | Union never knits | Bind firmly; stake against wind |
| Wrong season | Poor take across the whole batch | Graft in mild weather with active stock |
| Rootstock suckers left | Scion starves and stalls | Remove suckers every week or two |
| Wet, cold conditions | Rot at the union | Shelter from rain; avoid grafting in the monsoon |
Cambium layers not aligned
Blunt or dirty tools
Scion dried out
Loose wrap or movement
Wrong season
Rootstock suckers left
Wet, cold conditions
Once the tree is growing away on its new top, care is simply care of a grafted tree — covered in Grafted Avocado Tree.
Cleft and wedge grafts are the usual choice for nursery seedlings, veneer grafting is favoured by professional nurseries for high take rates, and side grafting is more forgiving on thicker stocks. All work when cambium contact, timing and aftercare are right.
When the rootstock is in active growth and the weather is mild — in most Indian growing areas, the post-monsoon window or the period before peak summer heat. Avoid heavy rain, cold spells and extreme heat.
Buds usually break in about three to six weeks, and the union continues strengthening for several months. Keep the wrap in place until the scion is clearly growing away.
Yes. Top-working cuts an established tree back to framework limbs and grafts the new variety onto the stubs. Whitewash the exposed limbs to prevent sunburn.
Most often the cambium layers were not aligned, the scion dried out before grafting, or the union stayed wet and cold. Sharp tools, fresh scion wood and a humid but sheltered environment fix most failures.
A dedicated grafting knife helps because it makes long, flat, clean cuts in one stroke, but any very sharp, sterilised blade will do. Ragged cuts are the real problem, not the brand of tool.
Horticultural and nutritional claims on this page are drawn from these references.
We write from two places: published horticultural research from institutions such as ICAR-IIHR and the University of California, and what our partner farms actually observe growing avocado in Indian conditions. Where the evidence is thin or regional, we say so instead of rounding it into a confident answer.
Researched and written in-house, reviewed by our farm coordination team. Last reviewed 4 September 2026.
Our Knowledge Hub covers growing, care, varieties, grafting and fruiting in one place — and if you would rather start with an established tree, we can tell you honestly whether one will do well where you live.
Free calculators that turn this guide into a result for your own conditions.
Model investment, running cost, yield and margin across three scenarios.
Break down setup and annual costs per acre, per hectare and per tree.
Trees per acre, rows and layout for your spacing plan.
Varieties
A grafted tree is two plants working together: proven roots below, a known variety above. That combination is why orchards use them and why home growers should too.
5 min read
Care
You cannot rush a tree past its biology, but you can remove everything that is holding it back. Here is the difference, without the marketing promises.
4 min read
Farming
A grounded look at avocado as an Indian crop: where it works, what establishment takes, and the risks nobody mentions in the enthusiastic articles.
4 min readStart here
Tree Guide
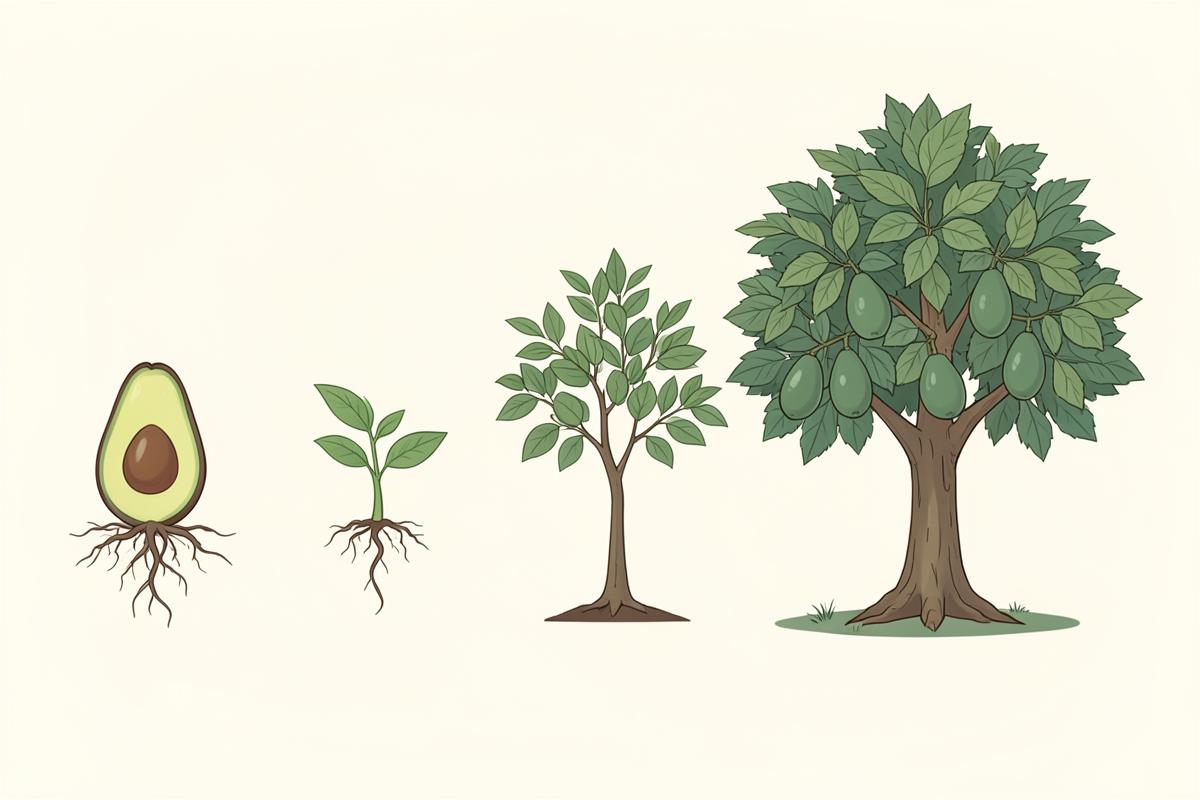
Germination in weeks, structure in years, fruit later still. This is the realistic avocado growth timeline, with the four growing situations that change it.
4 min read